India is a privilege.
You’ll read and hear both sides of the spectrum. People love India – it’s culturally rich, the people are genuine, the food is incredible, there’s so much variety. People hate India – it’s hot, loud, overpopulated, dirty, smelly. Some people are unsure about India – it is foreign, huge, overwhelming on the senses and the mind.
But above all else, it is a privilege.
In a hugely diverse country with over a billion people, and some of the richest people in the world and a lot of the poorest, you can only expect there to be an extreme range of individual experiences. As a tourist in a place that can feel so foreign it is almost unbelievable, it is most important to keep our perspective in place. The perspective that we are the foreigner; we are a guest in this place; that it is not simply a playground for us to spend our ‘strong’ currency with no regard for local customs or priorities.
We feel privileged to have visited, and to have seen so much of this country over three months. It was some seriously challenging travel – the stark difference in cultural practice absolutely takes a toll; most days something would happen to make us feel disrespected, cheated, or misunderstood. But we also experienced incredibly genuine kindness; we met locals wanting to share with us their land and their culture; and holy mcfreaking moly we got to eat some of the most incredible food on the planet. It was really a time of growth, and after a number of months of introspection and reflection we are finally feeling a little bit ready to write about it.
Keeping it
short and sweet
Geography
India is massive, so it’s got a bit of everything. High mountains in the Himalayas, lush forests in the foothills, the desert of the west, magnificent beaches on the southern coasts, and the jungle inland. One thing that surprised us was how green India is – cities can be fairly concrete, but there’s big swathes of forest.
Climate
India’s got the usual four seasons, but they’re a little different to temperature countries, as the tropical monsoons have a big impact. With such a massive variation in geography comes substantial differences in weather cycles regionally.
.Summer | Mar – May | avoid especially May – the hottest it gets | Monsoon | Jun – Sep | hot and humid | Post-monsoon | Oct – Nov | still humid, but cooler and much more manageable | Winter | Dec – Feb | a good time to visit.
cultural quirks
There is so much that feels different about India from the west, but what stands out is the incessant staring, the lack of women in public, especially in Delhi, and the slightly hilarious, slightly irritating habit of asking ‘where are you from’ with no prompting, and certainly no ‘hi, hello’ first.
costs
You can visit on either end of the spectrum – spend the big bucks, or take every local route you can to be a real saver. Even on a shoestring budget, you can eat out every meal, though your stomach will need to be strong, but we’d recommend a the slightly more expensive options for travel – the ‘local’ routes in India are not for the faint-hearted, and a little bit of cash can go a long way.
safety
Safety varies a lot across India, but in general we felt safe, if not quite uncomfortable. I’d say that for a solo woman, or even women travelling together, a lot more lines would be crossed for the discomfort would be higher. The concept of personal space doesn’t really exist, and, as above, the tendency to stare can make you feel very defensive.
transport
The train system in India is well connected, but books out well in advance. Buses are also a great option, with lie-flat bed options. In the mountains, catch shared taxis or jeeps. Flying is a good option; there are lots of airports, and prices are really reasonable (even with bags).
food
The food in India is incredible… In the west, we talk about ‘curry’, but the variety is something you can’t access; wet gravy, dry meat, a thick sauce; completely different applications of spices; parantha and thali for breakfast; wazwan in Kashmir, kebab in Lucknow; momos and noodles in the mountains… Pure joy. You won’t find beef or pork; vegetarian, mutton (goat) and chicken are the main options.
walkies?
Hell yeah! While Nepal is known for its Himalayas, a good chunk of the lower valleys and mountains are in India, through the states of Uttarakhand, Himachal Pradesh and Ladakh, and Sikkim. These regions can reach high altitudes, so don’t be underestimating it. Our to-do list is below, but we recommend checking out India Hikes for an almost exhaustive list, and they are really helpful if you want to send them an email!
our stops
Usually this section is ‘hotspots’, but there are too many to name, so we’ve put in our highlights instead (yes, in order; yes, they don’t make any logistical sense)
delhi
We had to, but we would avoid it if we could… Delhi is a hellhole, but it’s got some beautiful monuments and wonderful history.
ladakh
An ancient kingdom with customs and vibes that mirror Tibet more than India; a high altitude desert perfect for hiking
kashmir
The disputed region of Kashmir has some of the most beautiful and dramatic landscapes in the world – unfortunately, unrest in the region makes it difficult to explore.
mumbai & aurangabad
Bollywood and bollywood’s money is evident in the classier side of Mumbai; yet it holds the world’s slum. We headed out of town for a day to visit the Ellora and Ajunta caves – incredibly preserved religious craftsmanship.
sikkim
Bordered on three sides by other countries, the beautiful mountains of Sikkim hold of our favourite memories. Gorgeous people, wonderful hospitality, stunning landscapes.
rajasthan
If you want a fort, or many forts, go to Rajasthan! Its history of Rajput royalty separates it from the Mughal royalty in the central regions of India. We visited Jaipur, Jodhpur and Jaisalmer.
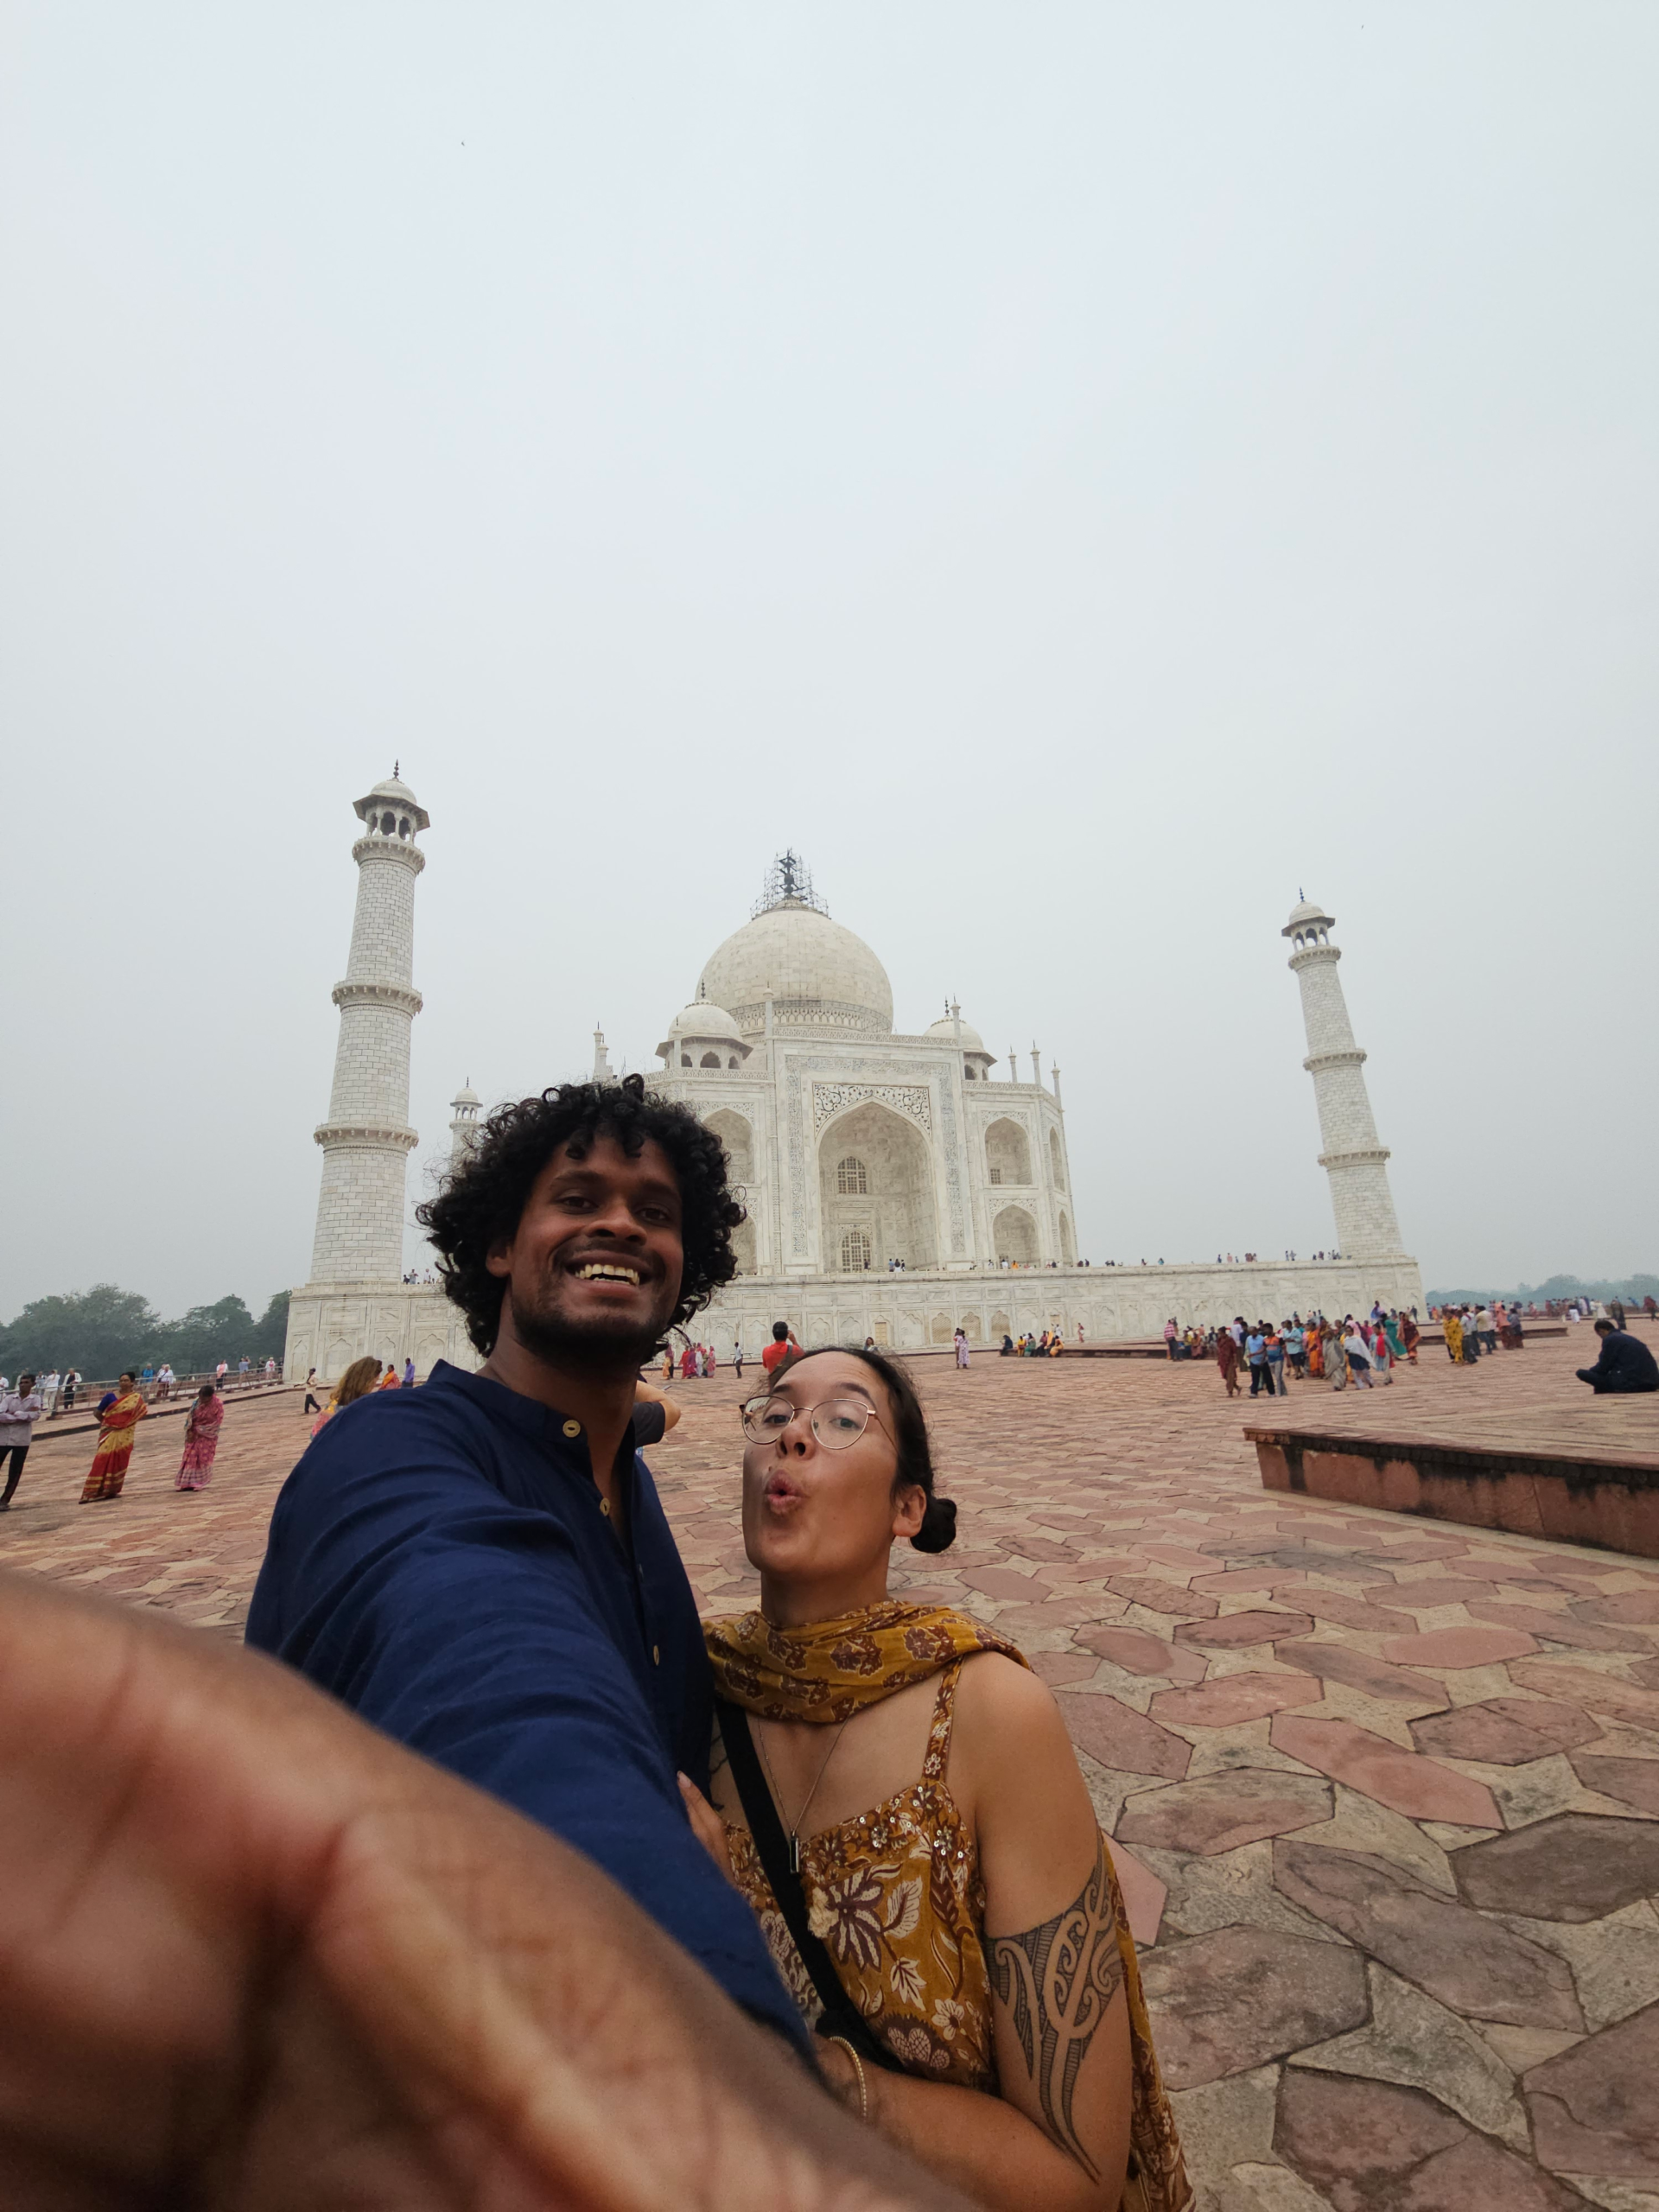
agra
Off to see the great Taj! It was really very impressive, and Agra wasn’t as awful as all the reviews describe – though we wouldn’t say ‘visit Agra for Agra’
varanasi
The most spiritual place to visit in India. Experiencing night-time pooja on the riverside was spectacular, and taking a walking tour is a great way to understand more of the local perspective.
lucknow
Food!! Lucknow is a gastronomical delight with phenomenal specific local dishes, and there are a few beautiful Islamic monuments to visit in the centre.
where next…?
We missed all of the hiking in Himachal and Uttrakand, and apart from Mumbai, didn’t even touch the south of India! That’s half the continent left to explore, one day.
Tell me everything
We approached India with a languidity born of 7 months of prior travel; while this is a manageable strategy for those with time, it did lead to a fairly rag-tag route. We were heavily impacted by the summer monsoon, so despite an initial determination to spend two solid months hiking in the Himalayas, Mother Nature had other plans.
India was a little bit of everything – we went to the limit of our visa, spending 3 months exploring as far as we could. The hiking was meant to begin in Ladakh, then we’d work our way through trails in Himachal Pradesh and Uttrakand (the lower Himalayas) as the monsoon eased. Everything got derailed when the monsoon stretched out longer than previous years and was far more devastating – not just in the Himachal, where the road from Leh to Manali got completely washed out, but also in Ladakh itself, which saw unprecedented rain and caused many buildings – not built to withstand the onslaught – to leak. So instead we bounced around – as above – in the most chaotic way possible.
Interestingly, while it can be very affordable, India is no longer one of the cheapest places to travel, especially if you want a moderate level of comfort. In fact, with the extreme wealth disparity in India there is a lack of infrastructural support that seems mind-boggling, the preference for locals who can afford it is to take private transport, so public transport can be neglected and become overwhelmingly overcrowded for a traveller.
important note!
Check your visa carefully! Even though we got a year long visa, it was explicit that with 12 months we could only be in india for 6 months total, and within that, only 3 months (90 days) at a time. We also miscalculated that (3 months doesn’t mean exactly 90 days), so we had to move our flight forward…
Geography
The third largest peak in the world is in India, on the border of Nepal (Kachenjunga). It’s got a huge coastline with multiple ports that enabled the trade from East to West – centres of gold routes for centuries. There are natural parks filled with tigers, elephants and other large and small fauna. The Thar desert of Rajasthan borders Pakistan, filled with golden sandstone. To its east is the Aravalli Range, one of the oldest mountain ranges in the world, a crumbling relic of tectonic movement which holds many forts. It really has it all, with the variety in the population to match.
Land border crossings in India are generally a no-no – our visa explicitly said that we could only enter and leave by air. Even over the Nepal border (with whom India have good relations), foreigners cannot pass.
The higher risk disputed regions have a serious military presence. In Kashmir (where there was a terrorist attack in April 2025), there is military everywhere, but we also had trouble with very strict immigration at the airport in Bagdogra (the entrance point to Sikkim), as it is right at the intersection of a number of countries. We had to get permits to travel to places in Ladakh and Sikkim, and certain tourist attractions are too close to the border, so are inaccessible for foreigners.


climate
As the geography varies so much, as does the climate. Every season is different in every region – you could freeze to death in the middle of the day in Ladakh or Sikkim, but in Rajasthan you’d still get a burning sun – though nights are always cold in the desert.
For the part of the monsoon season we were in India, it really was wet. In South East Asia, monsoon means rain every day, but usually not for the whole day. In India, it was constant – and even in the rain shadow of the Himalayas in Ladakh, the conditions were bad in 2025.
Even though India is hot as balls most of the year, having skin showing is pretty uncommon for the locals, both men and women. Awal wore a singlet a couple of times and got a lot of attention! You only really see modern western clothing in centres like Mumbai (not even in Delhi). Take light, loose clothing that covers your whole body, and if you’re a woman, try to get it as shapeless as possible – it helps to stave off the staring.
Costs in 2025
India is pretty damn affordable. As we said, it’s a spectrum – there are heaps of holiday packages that people take which are all inclusive – 5 star hotel, private transport, no thinking, the guide takes you from the monument to the bar. It’s visit, eat, party (idk who’s doing eat, pray, love). However, if you want to backpack, you can totally do it on a tight budget and a bit of patience.
Accommodation was usually alright, but really frustrating in Delhi. Most of the hotels and hostels have fake reviews even on booking.com, so they can actually be super terrible – we ended up spending around 2500INR (~50NZD) per night in Delhi to make sure we got a hotel that actually exists. Mumbai was also really expensive – even a dorm room was 1000INR each (~20NZD). It’s really variable per town – but on average, we spent about 1600INR per night (32NZD).
We cooked one time during our 3 months in India. We ate out every meal we could. Food prices have a massive range – a thali is a great basic meal; dahl, rice, roti, papad, and a curry or two. Sometimes, they’re refillable! It ranges from really cheap, around 150INR for a basic one, to 400INR for a ‘special thali’ with the fancier curries. There’s lots of snacky street food to try that’s around 50INR a pop; sit down meals at local cuisine AC restaurants will be more expensive, maybe 500-1000INR per person. There is literally a menu in the AC room that has different prices to the menu in the non-AC room – but some days, you gotta.
Because we caught flights for really long distances, our land transport budget was pretty low on average. However, we found it pretty variable, but here are some benchmarks:
- Agra to Varanasi | 10 hrs | 2000INR pp | the nicest lie-flat bus we caught by a LONG way
- Lucknow to Delhi | 8 hours | 1200INR pp | a fine lie-flat bus.
- Jaisalmer to Agra | 15 hours | 1500INR pp | a fine lie-flat bus


Cultural Quirks
There’s a lot going on in India, but we thought to list some of the things that jumped out… and it turns out there are quite a few.
- Rubbish – okay, we thought the rubbish culture in Bolivia was bad. Nope. You will see people from all walks of life, from wealthy to poor, throw rubbish on the streets. This is embedded a bit in the caste system, where cleaning is seen as a ‘low caste’ activity, and comes also a bit from the general living conditions – for many people, rubbish is the least of their problems.
- Personal space doesn’t exist! Of course, in a place with overpopulation, you know that this is bound to happen, but it’s one thing to know it in theory, and another to experience it.
- Staring is prominent – wherever you are, wherever you walk – especially for women. Staring is not seen as impolite as it is in the west, and even if you glare back, people often won’t care to look away. A smile and wave, will get you one back or they’ll finally look away in some embarrassment, so try that!
- Dressing appropriately goes a long way to being more comfortable. Long pants, and at least t-shirts will mean you stick out less. Or get some ethnic wear! They’re usually really comfortable and floaty.
- Something that was pretty uncomfortable was seeing predominantly men in public, especially in Delhi. In places like Ladakh and Sikkim, this was much, much less prevalent.
- Despite being colonised by the British, the English language is not as common as you’d think in India. Thankfully, Awal speaks Hindi, so we (he) could navigate any sticky situations
- Don’t expect kindness, but give it out – this sounds really awful, but hierarchy in India is deeply ingrained; service people might be hesitant to engage because they’re used to being completely shat on by locals, so be patient and ask clearly. Also, there’s just a lot of scams, so it’s worth being on your guard.
- Haggle for everything except cooked meals – I know there is a lot out there that says ‘when your currency is so strong, there’s no point haggling for a couple of dollars’, but this is seriously just the way in India. Everyone will try to charge you at least double once they realise you’re a tourist, Awal could literally hear tour agencies talking in Hindi, asking what they should charge for the ‘white people’ price. If they start at 1000INR, you should start at 200INR, especially with clothing and jewellery (literal advice we received from a local)
Safety
As a foreigner in India, you attract a stupid amount of attention. Although we are not white-passing, we still got lots of looks, probably because of our clothing. As with some of the ‘quirks’ above, there are a lot of things which can make you feel really uncomfortable and obvious in India, however in general, we’d say that India feels safe. There’s unwanted attention but it’s generally not malicious, and if it is, there are usually so many people around that you could yell and someone would help you out.
The biggest thing in India is the ridiculous number of scams that people try to pull. While travelling, it’s often the most fun to go with the flow, but if someone is offering you something insistently, it’s probably good to do a quick check of all the facts that are involved. If it’s too good to be true? Probably is. We came across so many scams that we could make an entire blog post on it.
transport
Whereas countries in South America have extraordinary alignment between the needs of the locals and the desires of backpackers, in India it doesn’t feel the same way. The train system is well connected, but popular routes will book out weeks in advance, so it is useless for last minute planning. Additionally, the locals often jump aboard without a ticket, even in some of the higher classes, so you aren’t guaranteed a stress-free ride.
Buses prices are generally comparable to the trains, and the quality is fairly variable. They do have lie-flat sleeper buses, which are great, but on the daytime or cheaper lines, sometimes the driver will pick up people at any random location and the bus will end up super crowded. Our advice is to pick a top bunk so nobody can sit on your bed.
In the border regions, bus options don’t exist, but you can catch a shared jeep or taxi. You might be able to find some information online, but often you’ll have to check in with a hostel to get confirmation.
Flying is really common and really easy in India. There are plenty of well serviced airports. If you don’t have luggage, it can end up cheaper than catching the bus, predominantly because the country is huge, and so some of the distances are ridiculous.
Tuktuks or auto-rickshaws are the normal way to get around in cities in India; in 2025, the normal going rate was around 100Rs per 10 minutes, but you’ll need to bargain them down. Check Uber prices to get a comparative negotiating point, but don’t order an auto through Uber – you’ll still have to negotiate with the driver!


Food
The food… there will have to be a whole post on this, but we’ll go through the basics. Most meals can be eaten at any time – there’s not a ‘set’ breakfast-lunch-dinner spread, rice and roti are for every meal.
- Paratha – stuffed roti (basically), pick aloo (potato) or pyaz (onion), or both
- Thali – a complete meal at any time of day, dahl, rice, roti, papad, and a curry or two
- Curry, roti, rice – if the flavours and gravies you want aren’t in the thali, pick your own.
- Chai – get your local tea in a tiny cup to start your day
- Gulab Jamun is incredible, but other hand sweets like barfi had too much ghee for us.
- Kheer and halwa… my gosh.
There’s also big variations by region. Lucknow has rich, spicy curries and kebabs. In Rajasthan, there’s a lot more ghee, and a few different desert-specific ingredients in their curry. Kashmir’s wazwan has big, bold, mutton flavours. And up in the mountains, Nepali and Ladakhi cuisine involves momo (dumpling) and noodle soups.
If you want a break from curry on a budget, the takeaway chinese food is pretty great – noodles are Emma’s favourite food group, so we’re always hunting them down

Walkies!
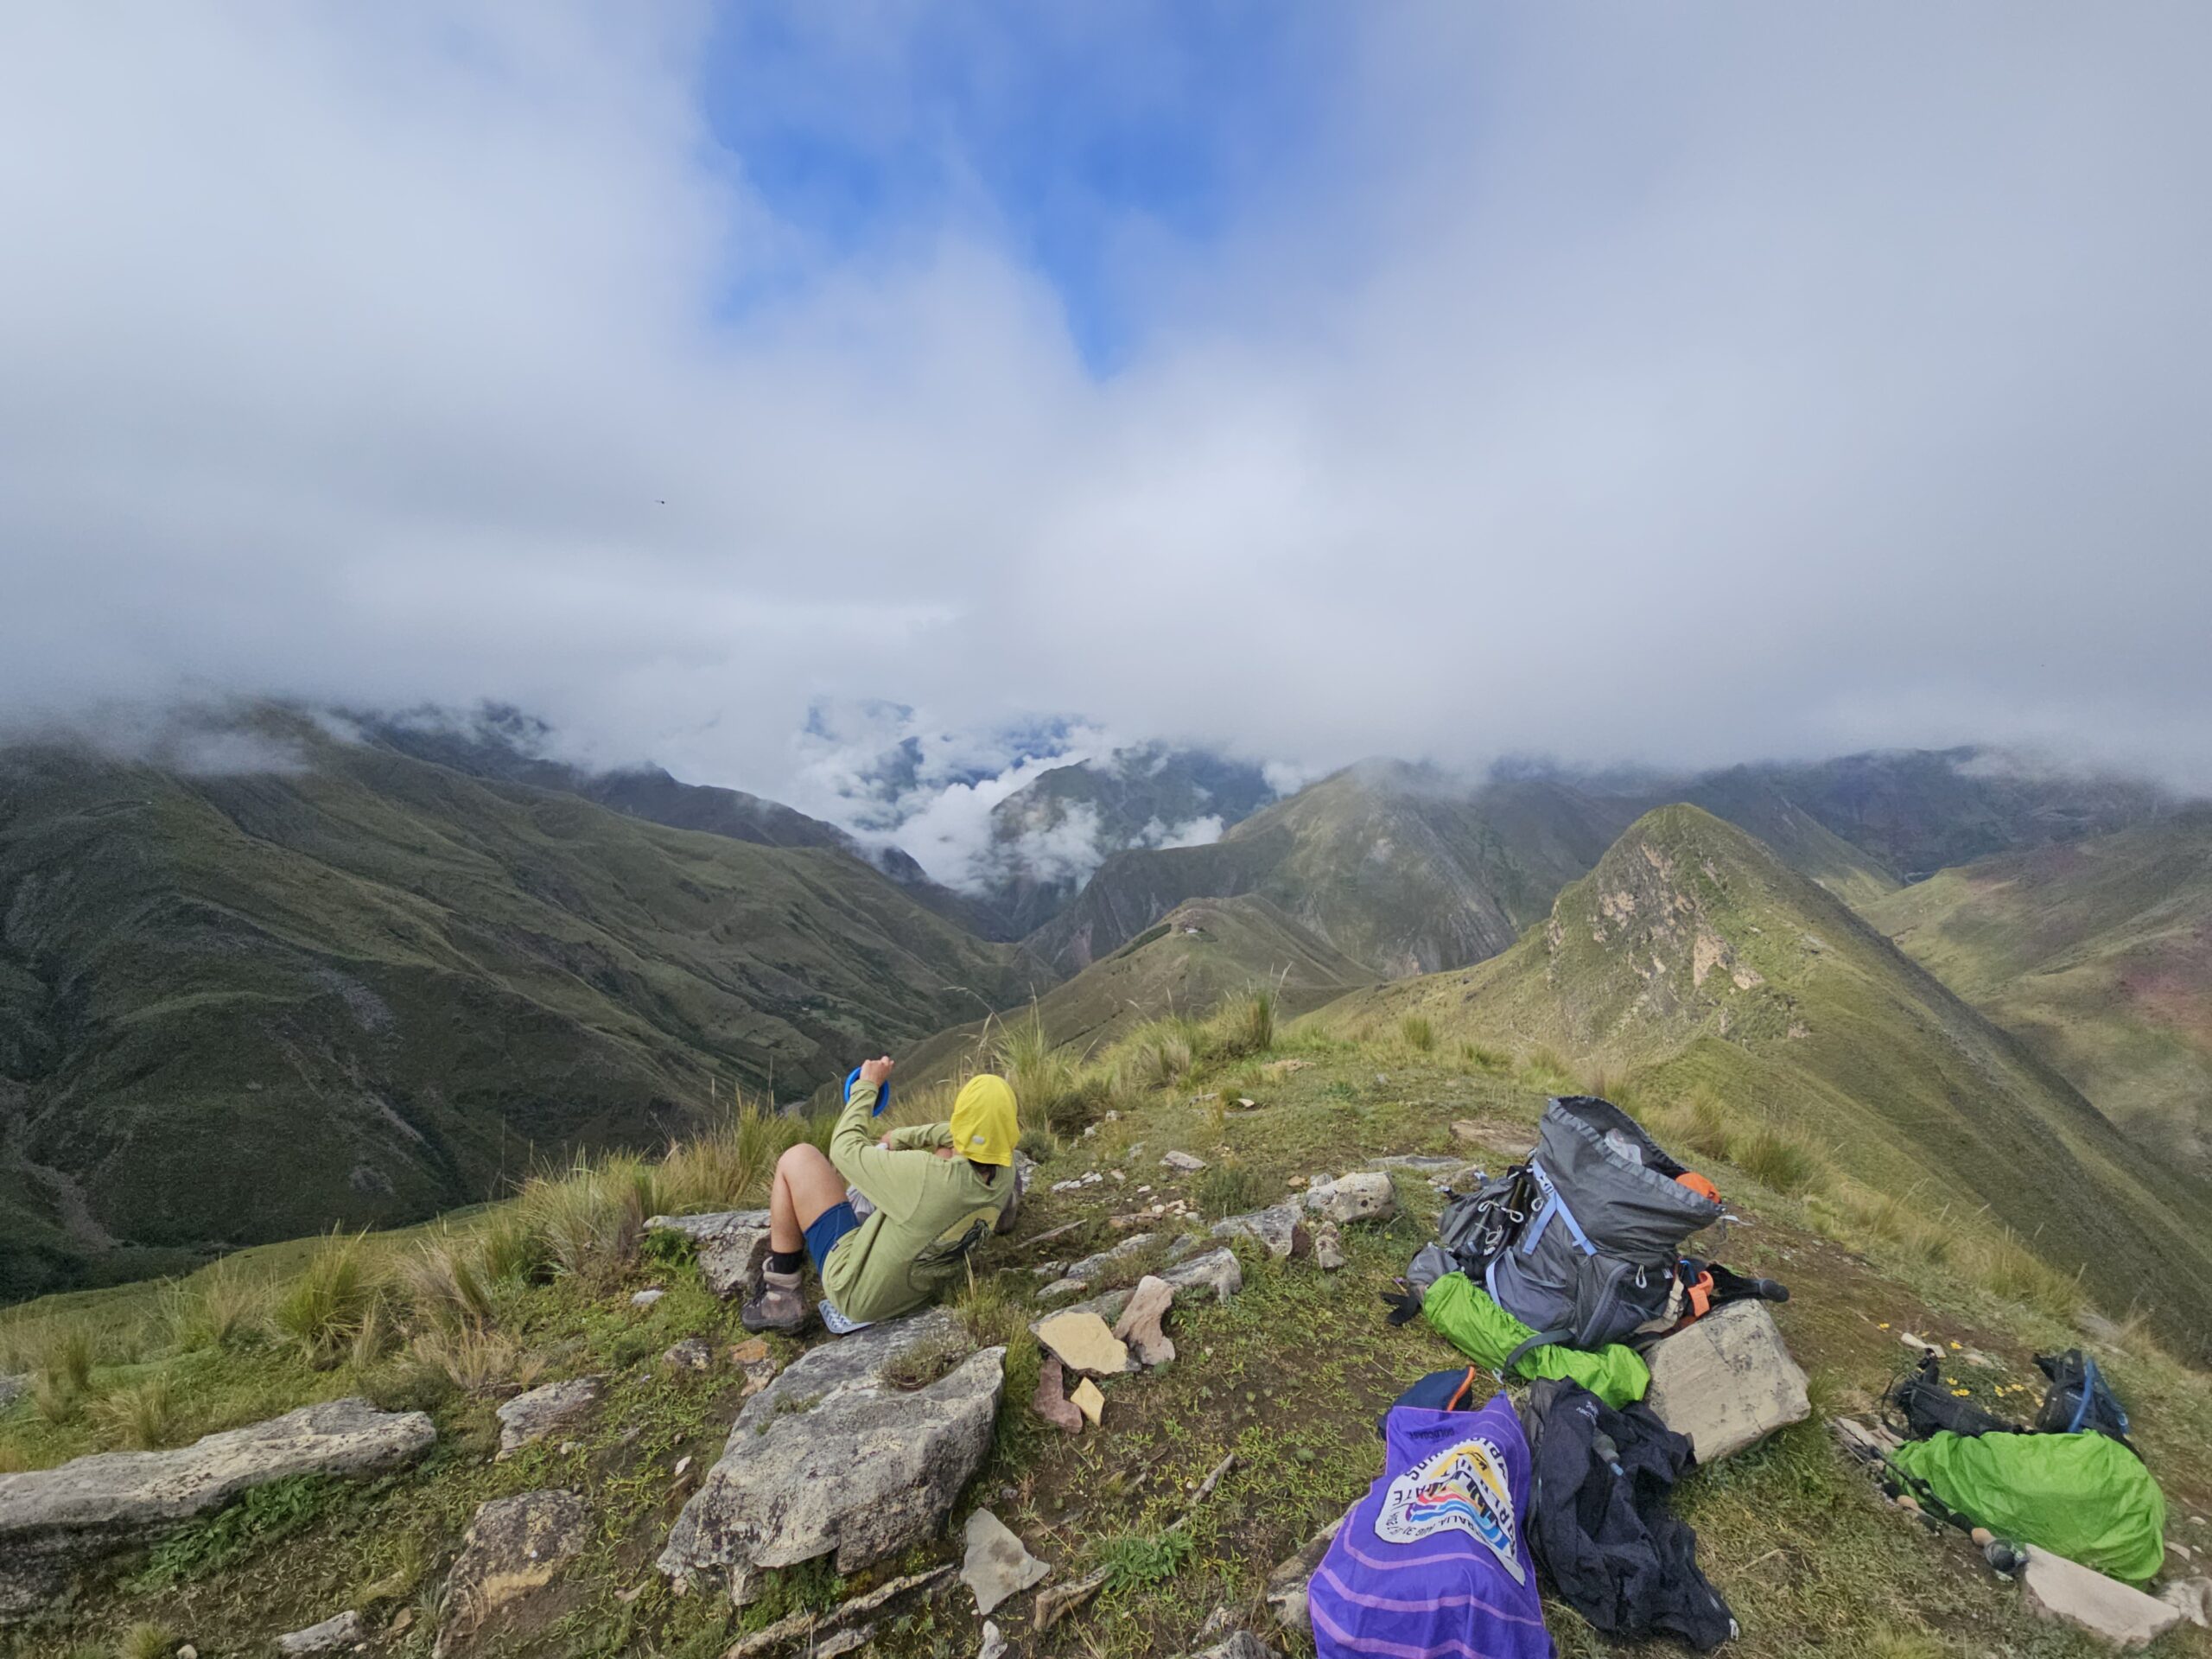
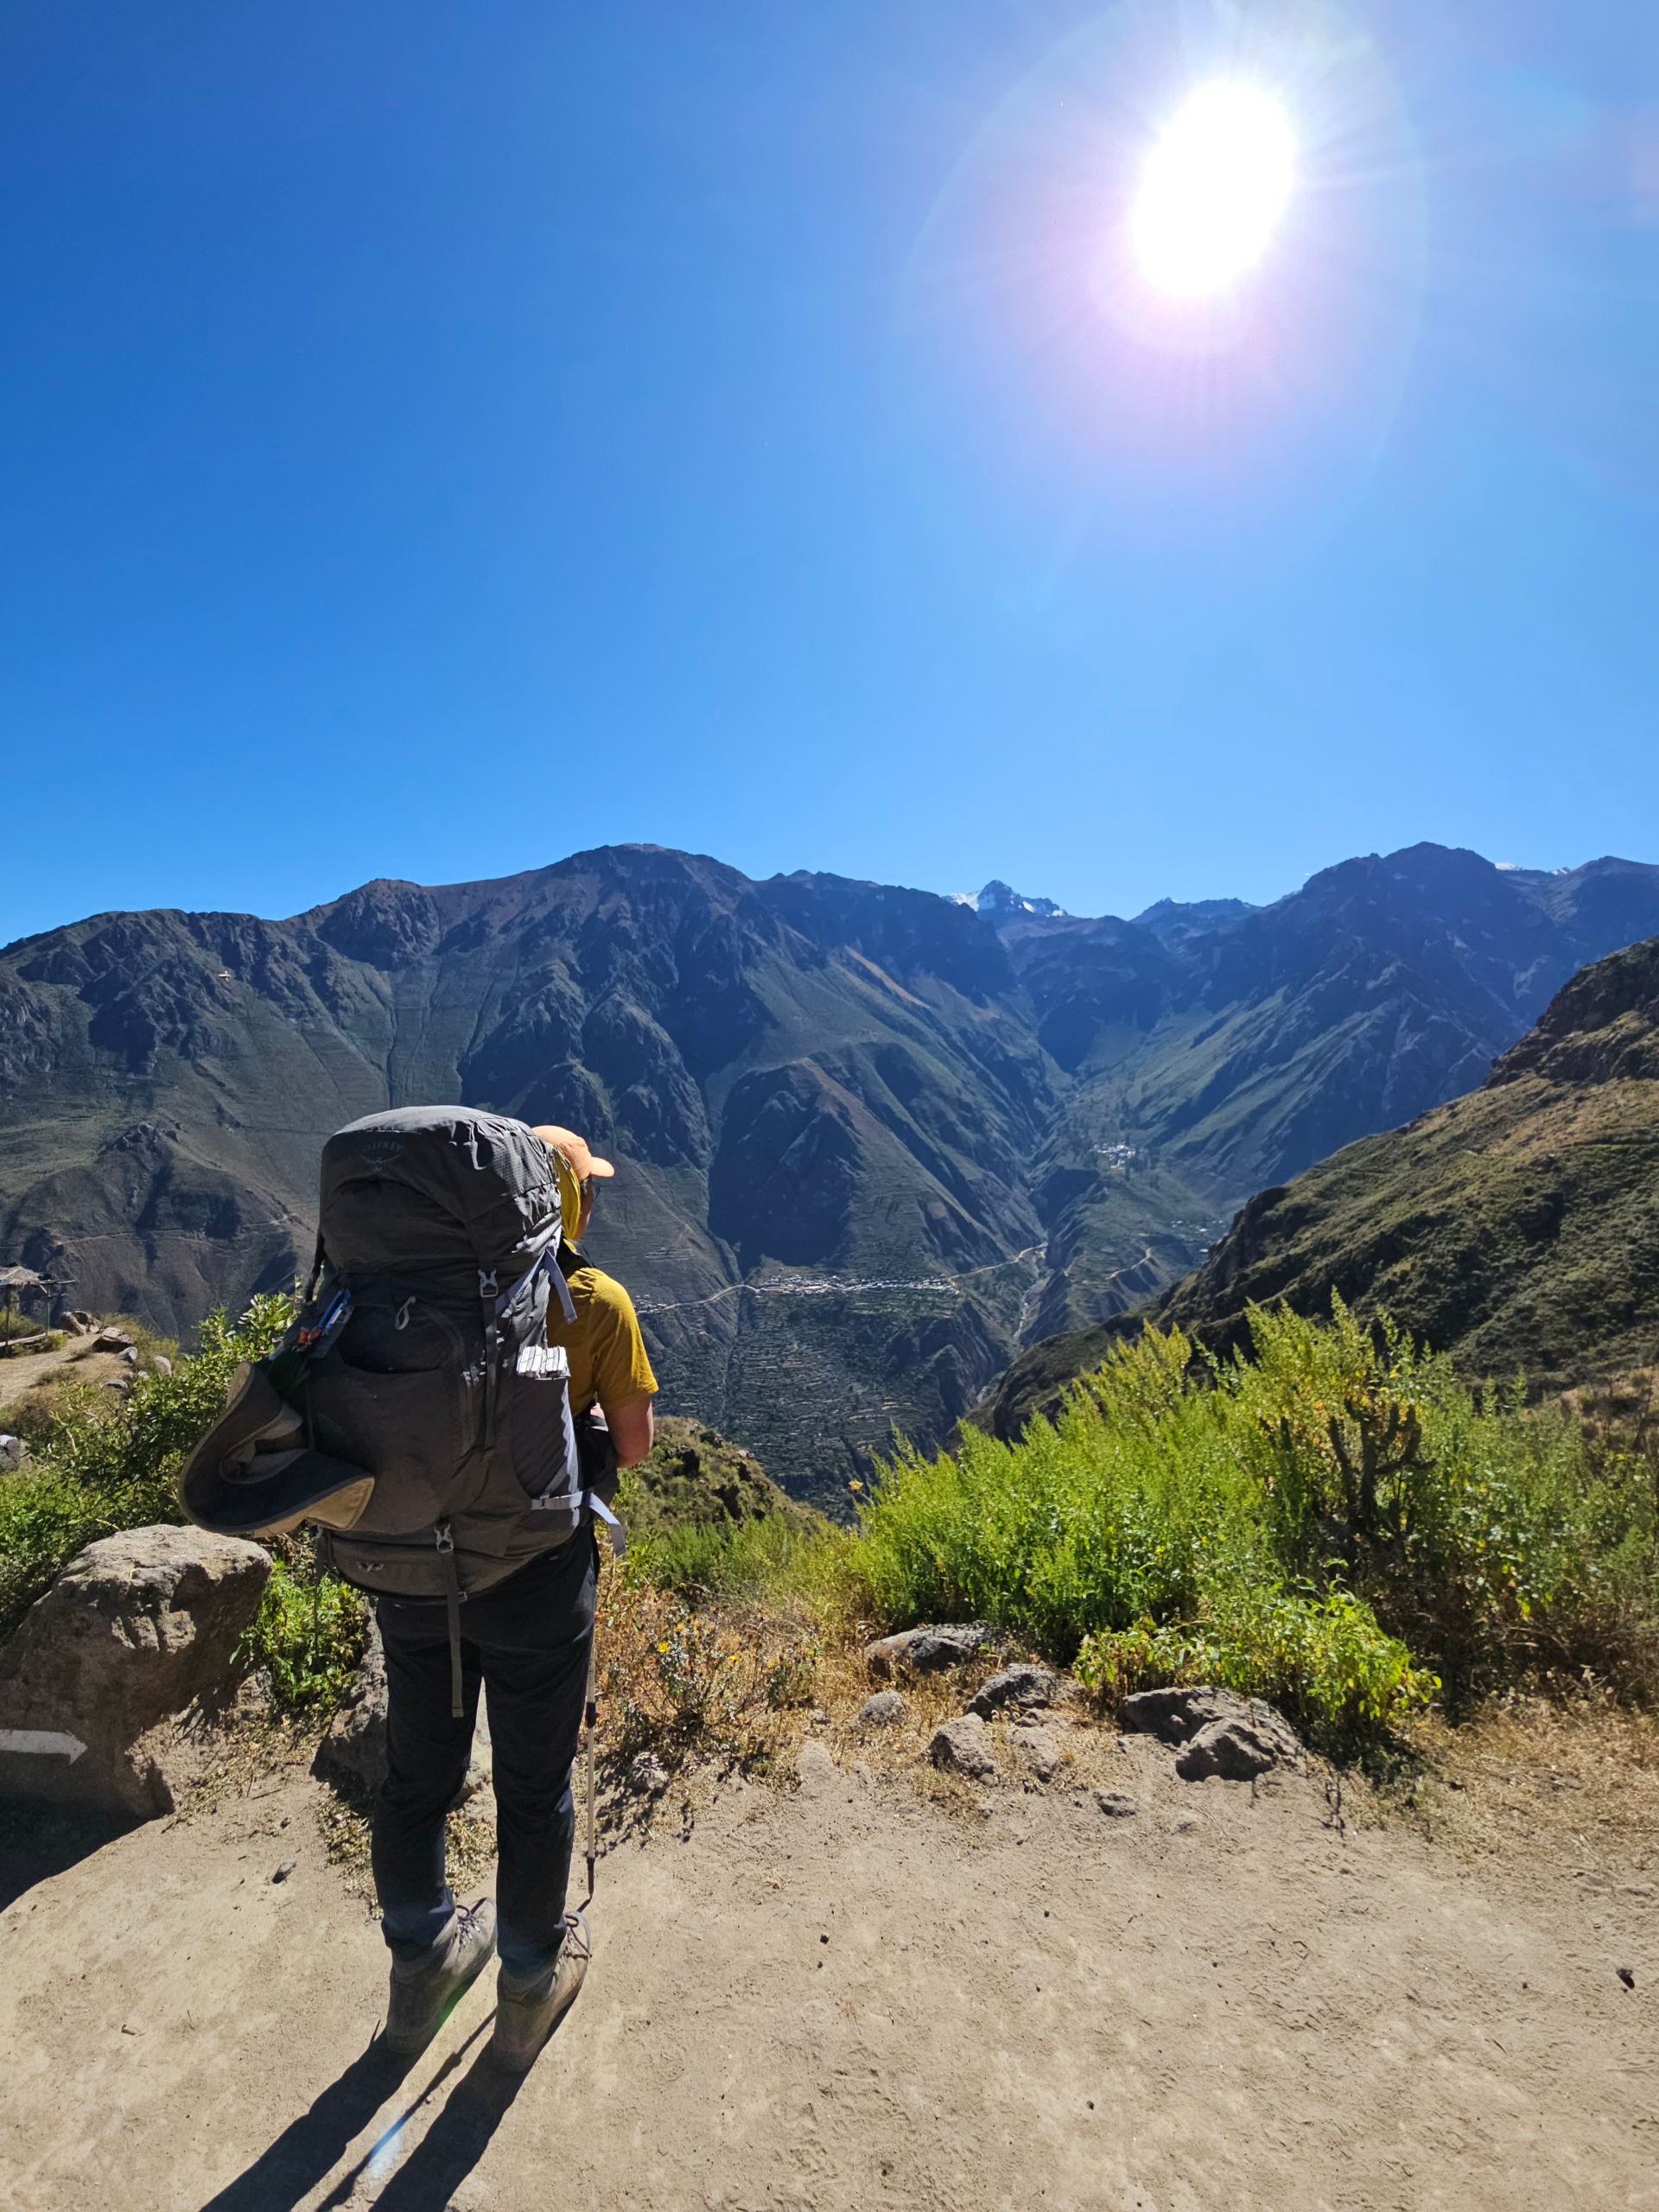
Up and down the Himalayas you could spend several seasons walking. While the Andes were incredible, the Himalayas have a scale that we’d not seen there. It’s actually really difficult to perceive how tall an 8000m+ mountain is from its base, but you can get an idea from the grandeur of the places you walk through just to get that peek of the peak.
Ladakh | high altitude hiking | dry alpine desert
- Markha Valley Trek | 4-8 days | Starting from Spiti is an 8 day route, starting from Chilling will be 5 days, all in homestays + one night in preset tents | done
- Phyang to Hunder Dok | 3 nights | Over a massive 5400m pass, an isolated, incredibly thrilling walk in the mountains | done
- Rumtse to Tso Moriri | 5 or 8 nights | Take a shorter route by starting near Debring. A wild, windy track over barren highlands | missed because of bad weather, so high up on our to-do!
Himachal Pradesh | moderate altitudes
- Hampta Pass | 2 – 3 days | 4200m | A good introductory trek for the region | End point can link up to Pin Bhaba or Pin Parvati
- Pin Bhaba Pass | 5 – 6 days | 4800m | Longer and beautifully varied, but less technical
- Pin Parvati Pass | 8-12 days | 5300m | Quite technical with glacier crossings | A guide needed without experience | a real challenge!
Uttarakhand | moderate altitudes
- Valley of Flowers | Overnight | Pick your season correctly to get the blooms
- Bali Pass | 4 – 8 days | 4800m max | A tougher hike in the region
Sikkim | moderate altitudes
- Goecha-La | 8 days | Must be done with a guide | No longer going all the way to the Goecha Pass, but still providing views of Kachenjunga – as close as you can get in India | Done with India Hikes
- Sandakphu | 5 days | Must be done with a guide | Homestays available | Runs along the border with Nepal.
And a final word of warning for hiking in India: leeches.


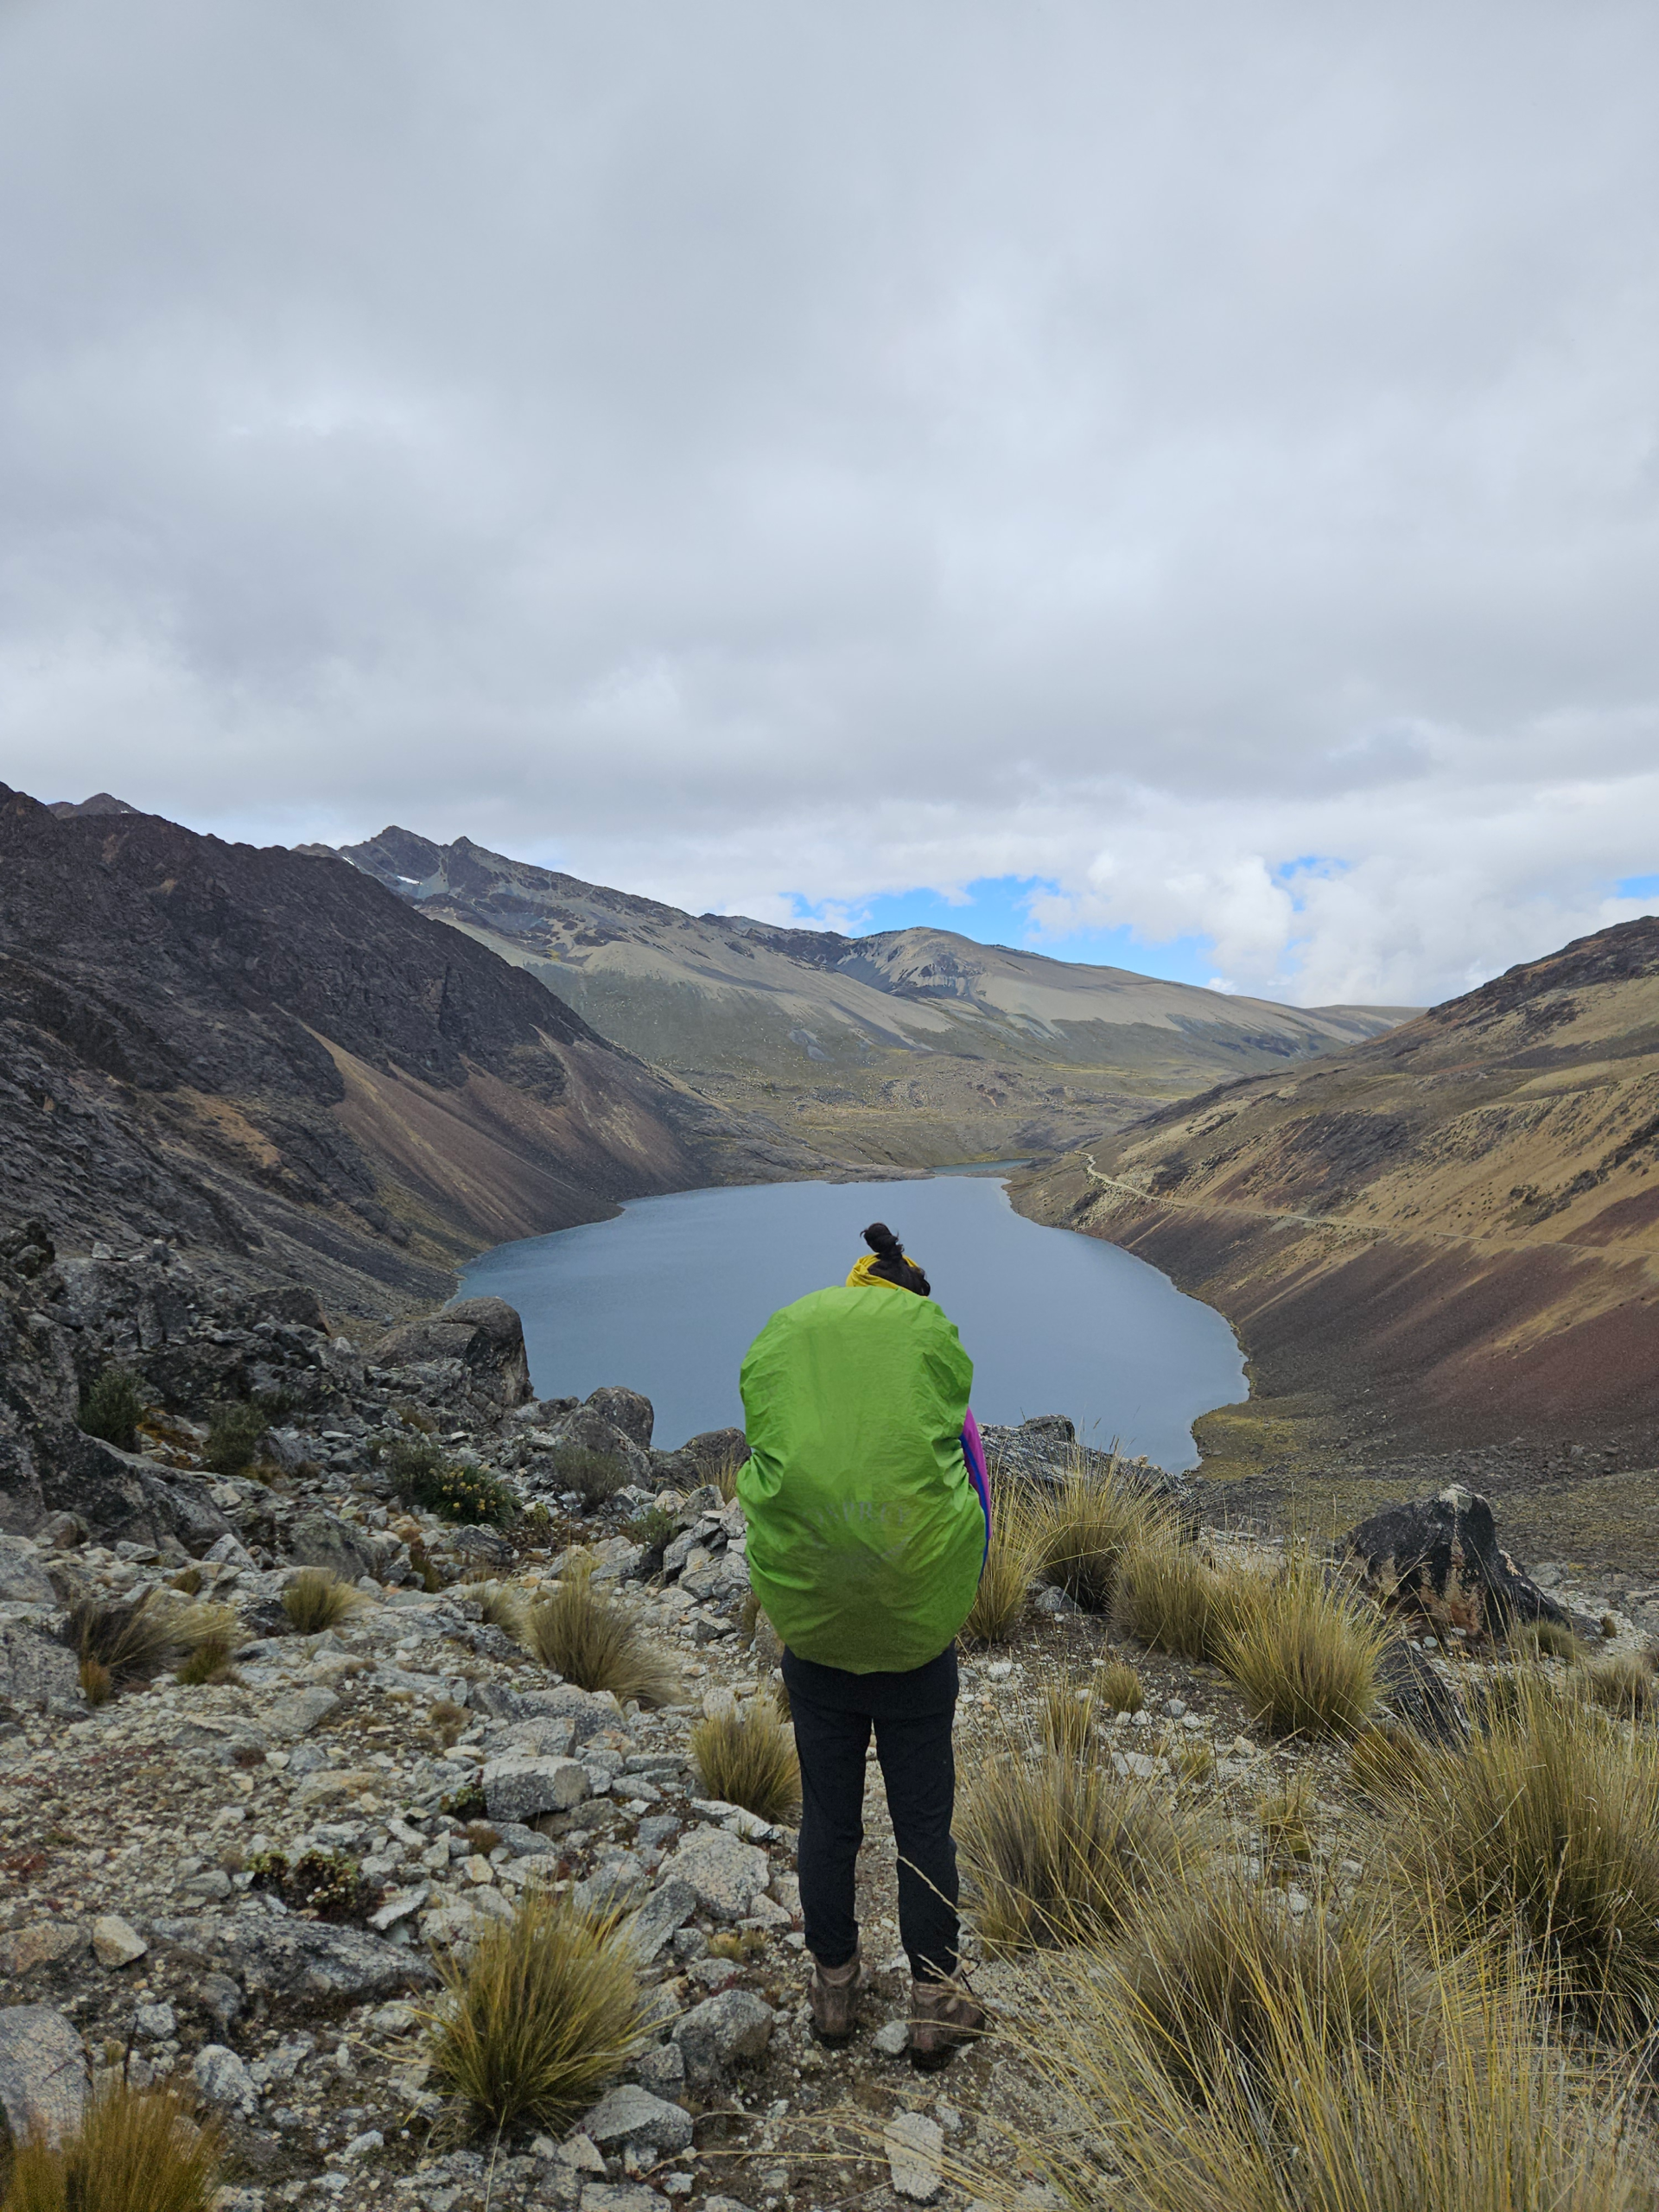
![How to explore Copacabana and Lago Titicaca [May 2025]](https://worldwide-walkies.com/wp-content/uploads/2026/03/20250529_122459-scaled.webp)


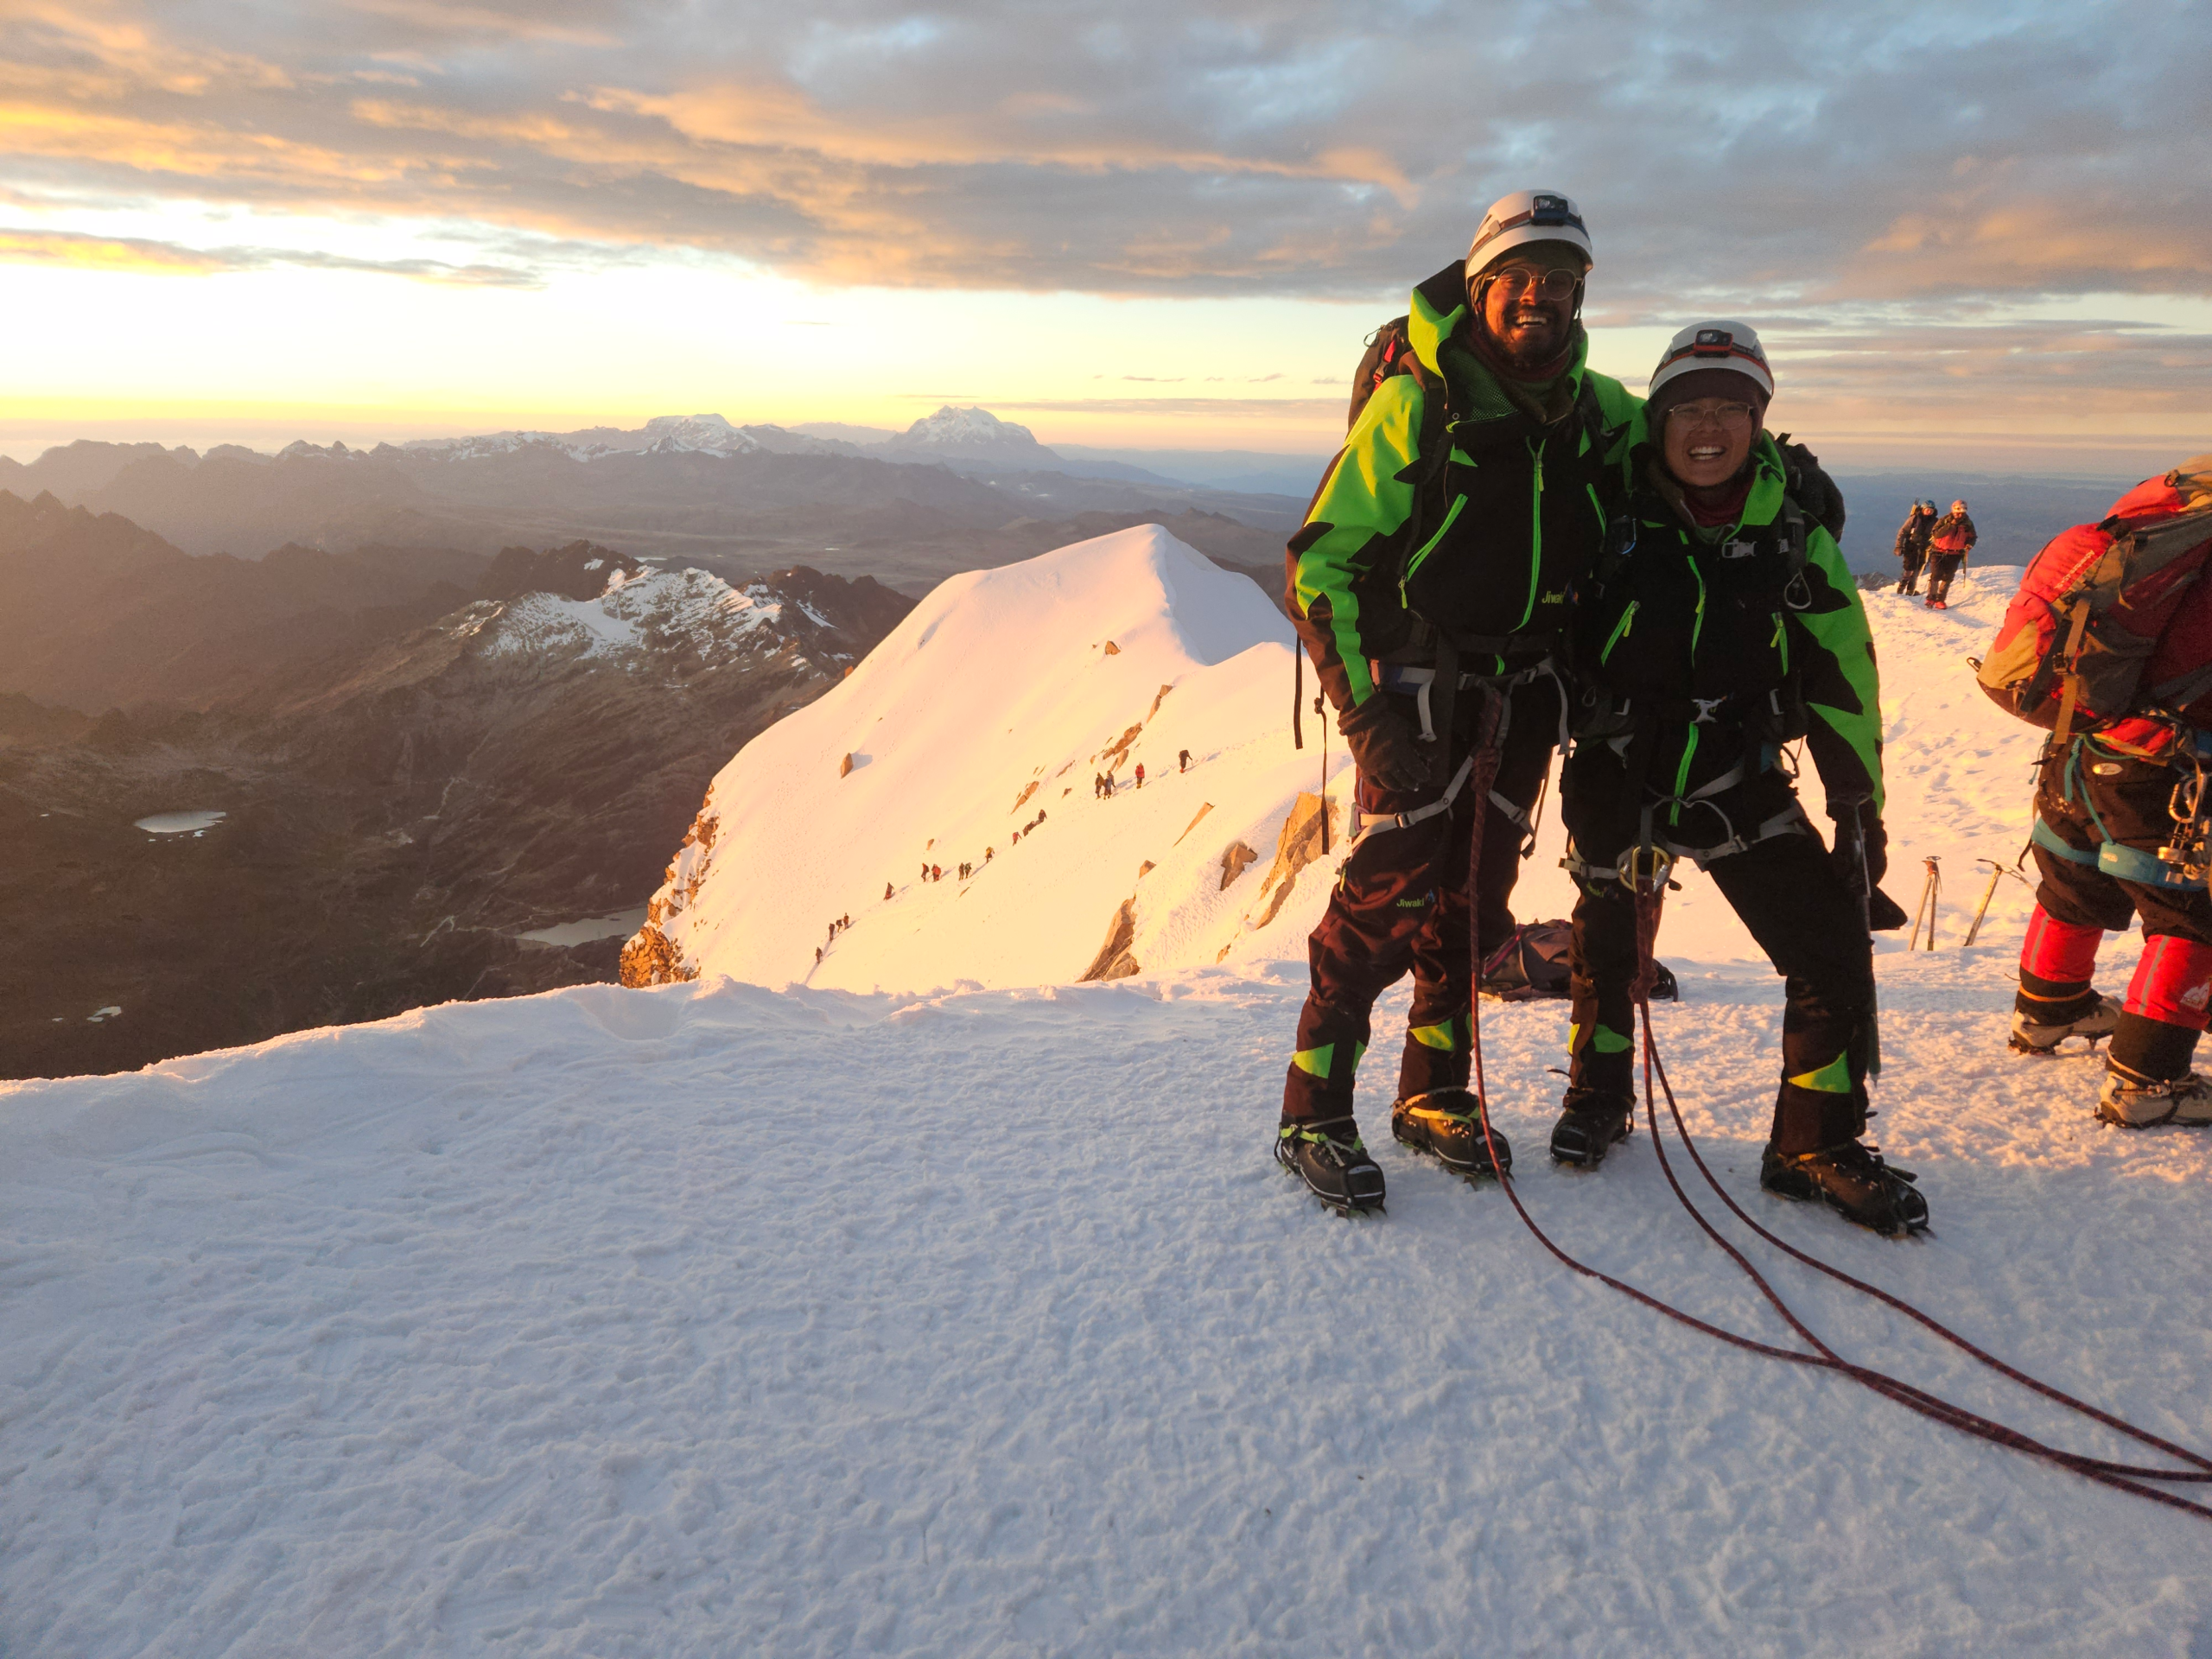
![Sunny Skies in Sajama National Park [May 2025]](https://worldwide-walkies.com/wp-content/uploads/2026/02/20250515_150831-1-scaled.webp)


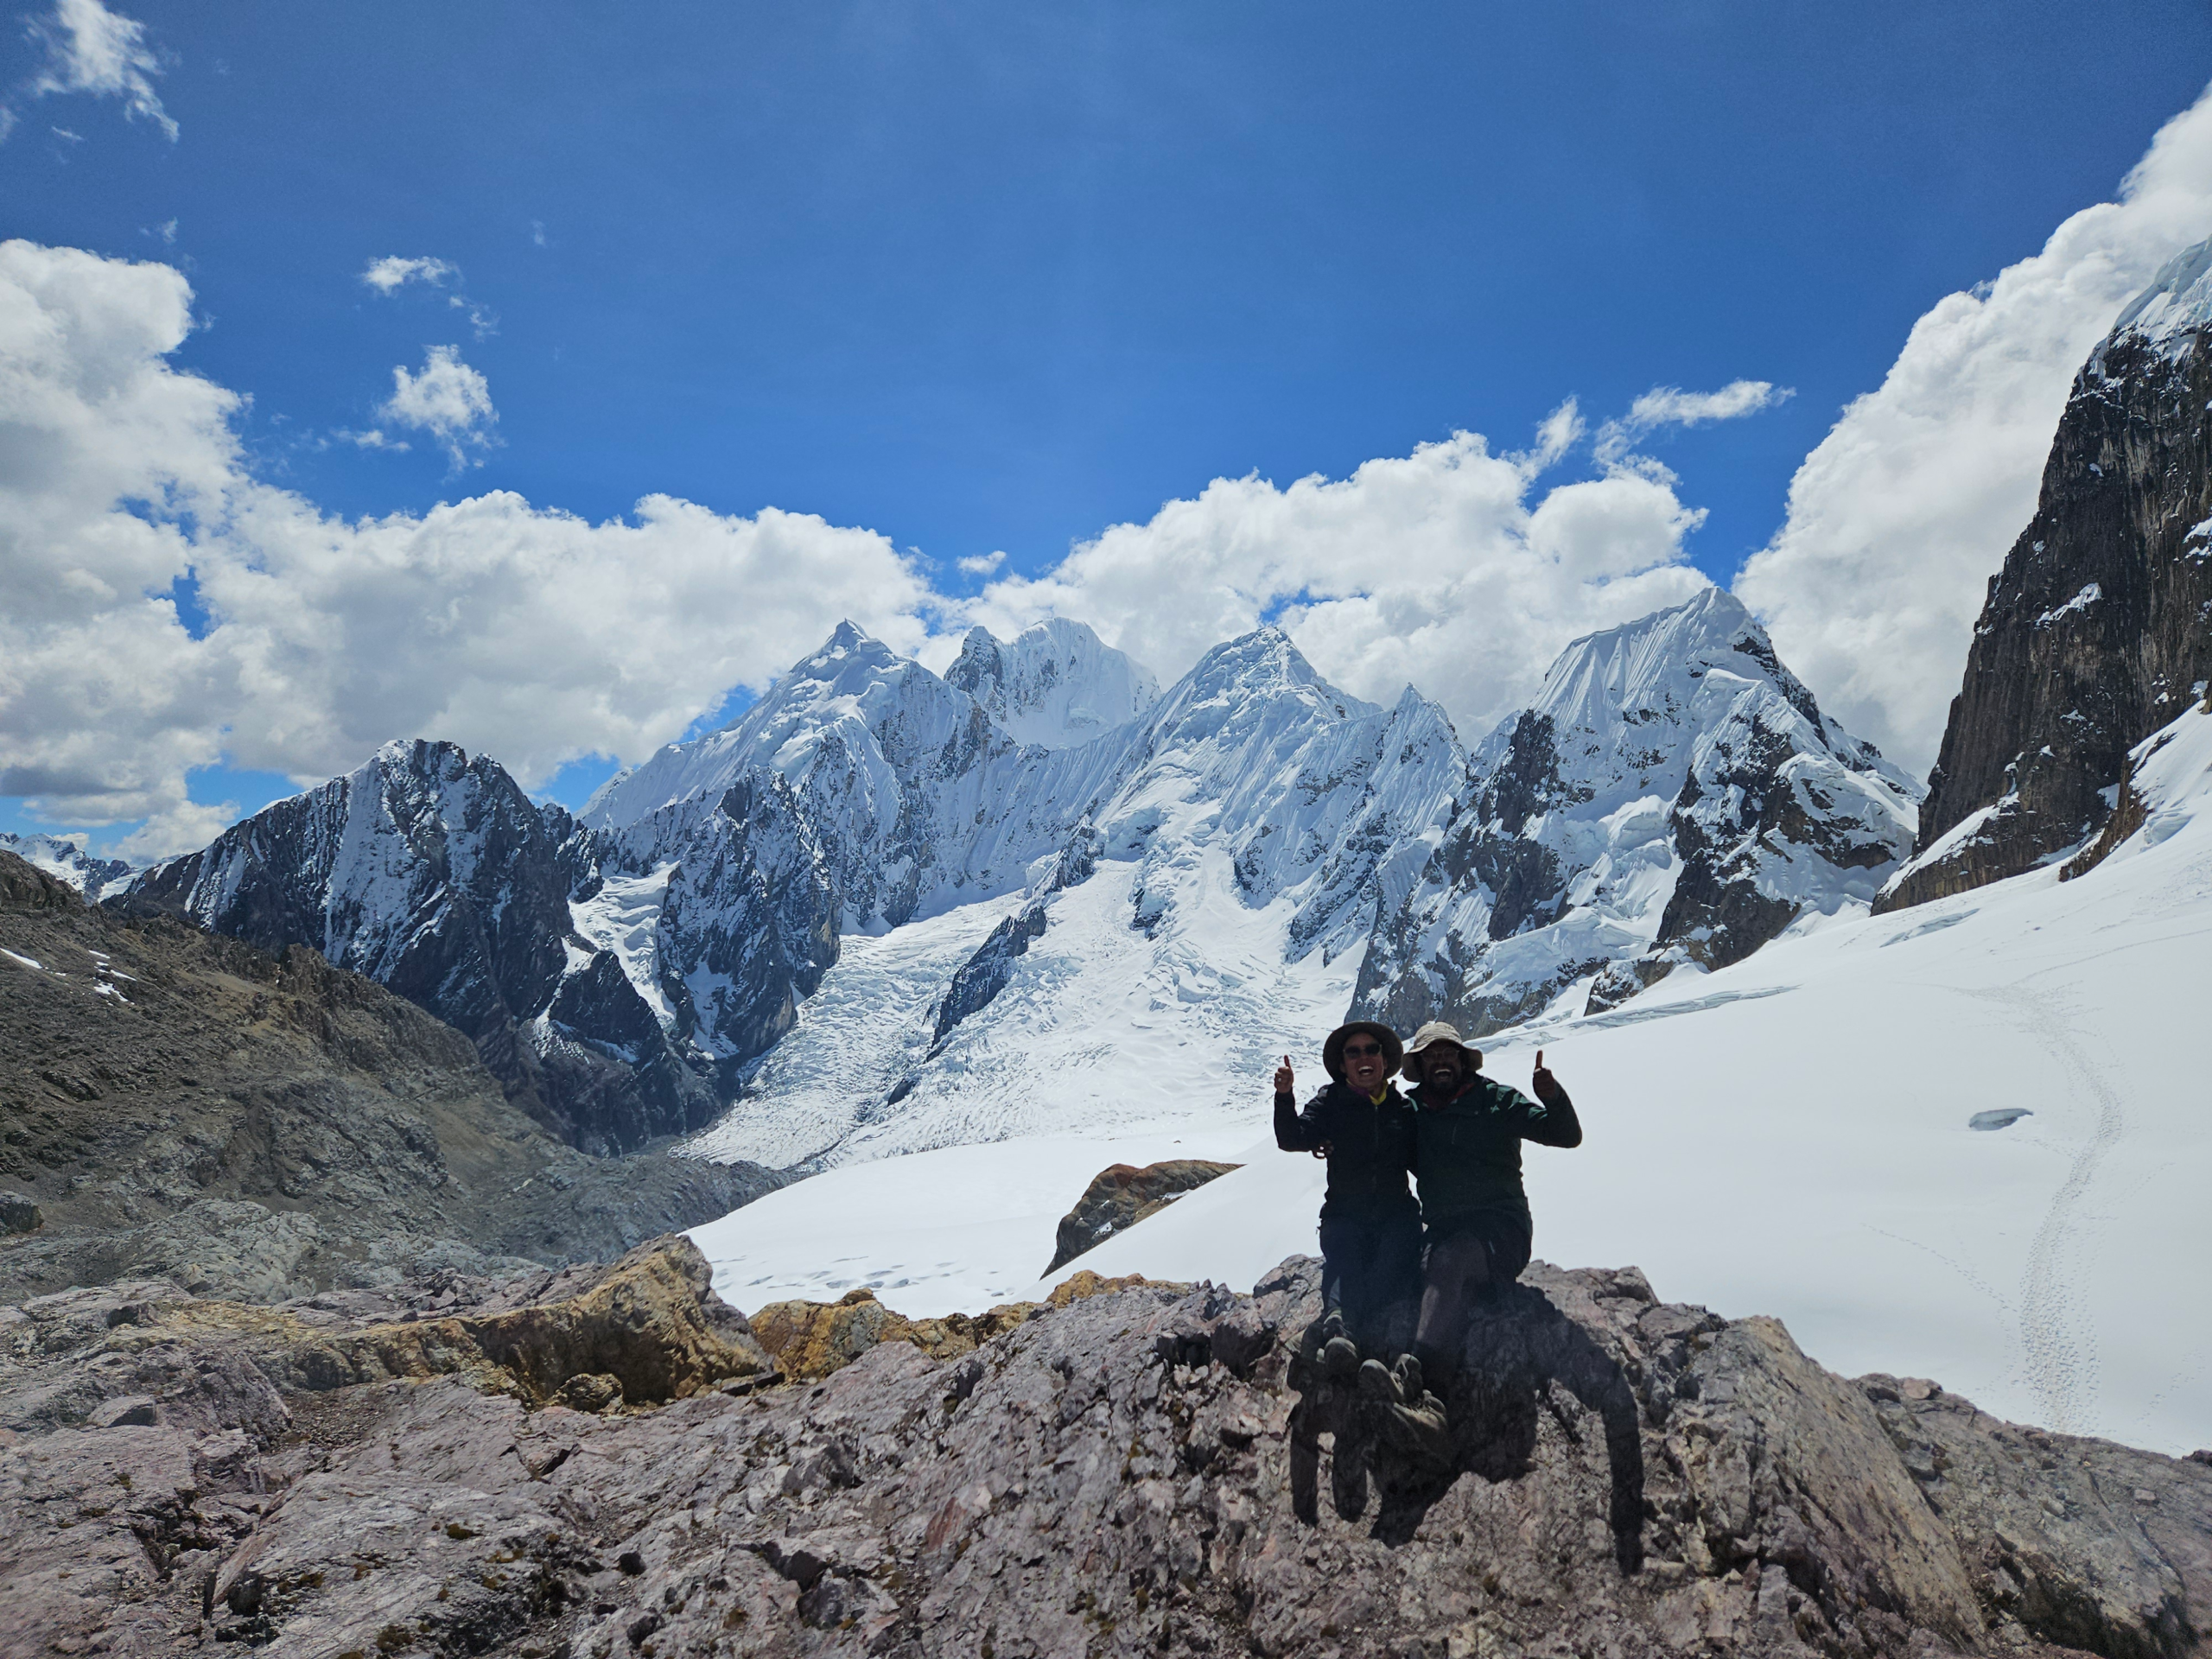
![Essential Guide to the Condoriri Trek | 5 Day Trek [2025/2026]](https://worldwide-walkies.com/wp-content/uploads/2025/12/20250425_092820-scaled.jpg)